Keep a printable copy in English or Italian. English version ↓ Versione italiana ↓
Flaky, tender and made entirely with butter, this American pie crust is the foundation for fruit, custard and pumpkin pies. The dough is intentionally shaggy: a little patience and plenty of cold are what give it its delicate layers.
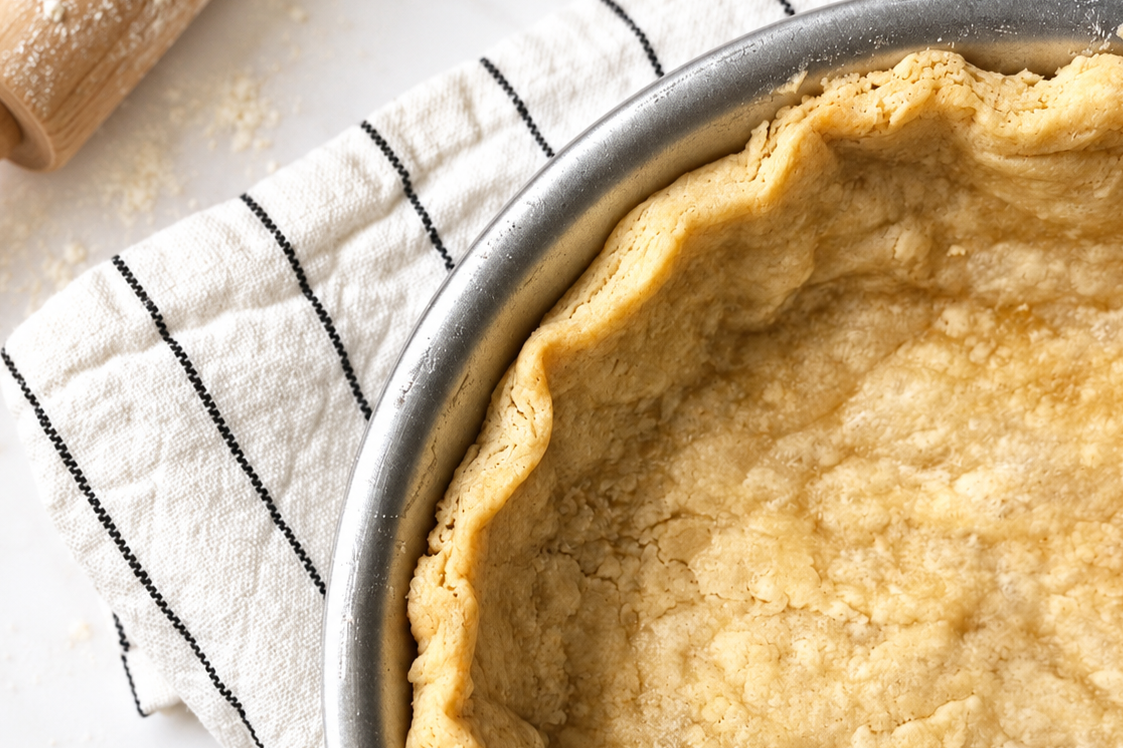
An American pie begins long before the filling. It begins with the crust: cold butter, a little water and the patience to stop mixing at exactly the right moment.
This is not shortcrust pastry, nor French pâte brisée. American pie crust is something of its own — tender, flaky and strong enough to hold fruit, custard or pumpkin without losing its delicate layers.
This is the version I tested until the butter remained visible, the dough stayed wonderfully shaggy and every slice broke into crisp, delicate flakes.
What makes it Flaky.
The secret is not a complicated technique, but knowing when to stop. The butter should remain cold and visible, the dough should look rough rather than perfectly smooth, and the water should be added only until everything begins to hold together.
In the oven, those small pieces of butter melt and release steam between the layers of dough. What begins as something rather untidy becomes a crust that is crisp at the edges, tender underneath and beautifully flaky.
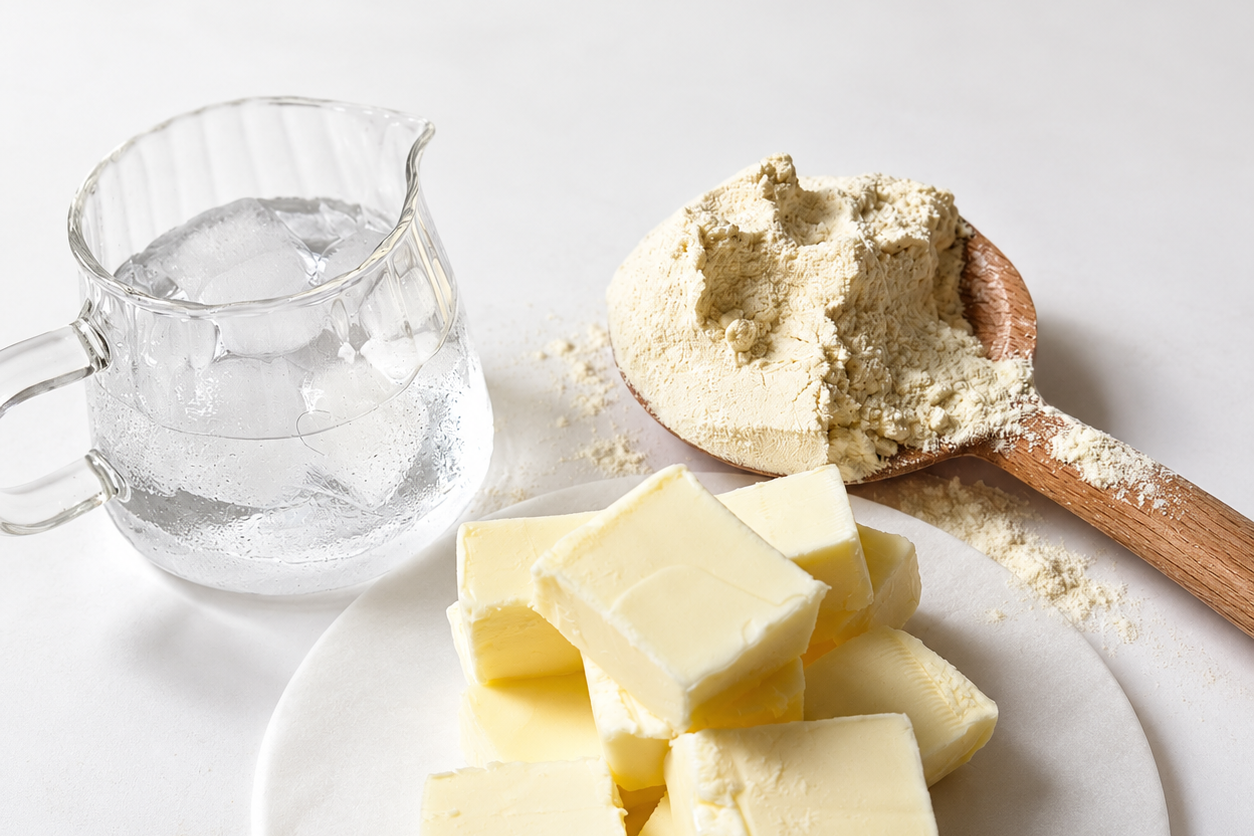
American Pie Crust Ingredients.
American pie crust is made with only a handful of ingredients, which means that each one has an important role to play. The complete quantities are waiting for you in the recipe card below; here is what makes this dough work.
Plain flour — It gives the dough enough structure to hold a filling while allowing the baked crust to remain tender. Work it as little as possible: too much handling develops gluten and makes the pastry tougher.
Very cold butter — Butter brings flavour, but temperature creates the texture. Small, visible pieces of cold butter melt in the oven and release steam, separating the dough into delicate, flaky layers.
Granulated sugar — Just a small amount encourages browning and gently rounds out the flavour. The crust will not taste noticeably sweet, so it can still accompany many different fillings.
Fine salt — It balances the sweetness and makes the flavour of the butter more pronounced. Without it, even a beautifully baked crust can taste surprisingly flat.
Ice-cold water — Water brings the dough together, but only as much as necessary should be used. Begin with the smaller quantity and add more gradually: the dough should hold when pressed, while remaining rough and slightly shaggy.
Five simple ingredients. The real recipe lies in how lightly — and how cold — they are handled.
How to make American Pie Crust.
Pie dough asks for less handling than instinct might suggest. Work quickly, keep everything cold and allow the dough to remain a little imperfect. Those visible pieces of butter and rough edges are exactly what will create its delicate layers.
1. Begin with everything cold.
Cut the butter into small cubes and return it to the refrigerator while you prepare the remaining ingredients and the ice-cold water. Keep the pie tin clean, dry and ungreased.
2. Leave the butter visible.
Combine the flour, sugar and salt. Add the cold butter and work it quickly into the flour using your fingertips. Stop while the mixture is still uneven and small pieces of butter remain visible. It should never resemble uniform sand.
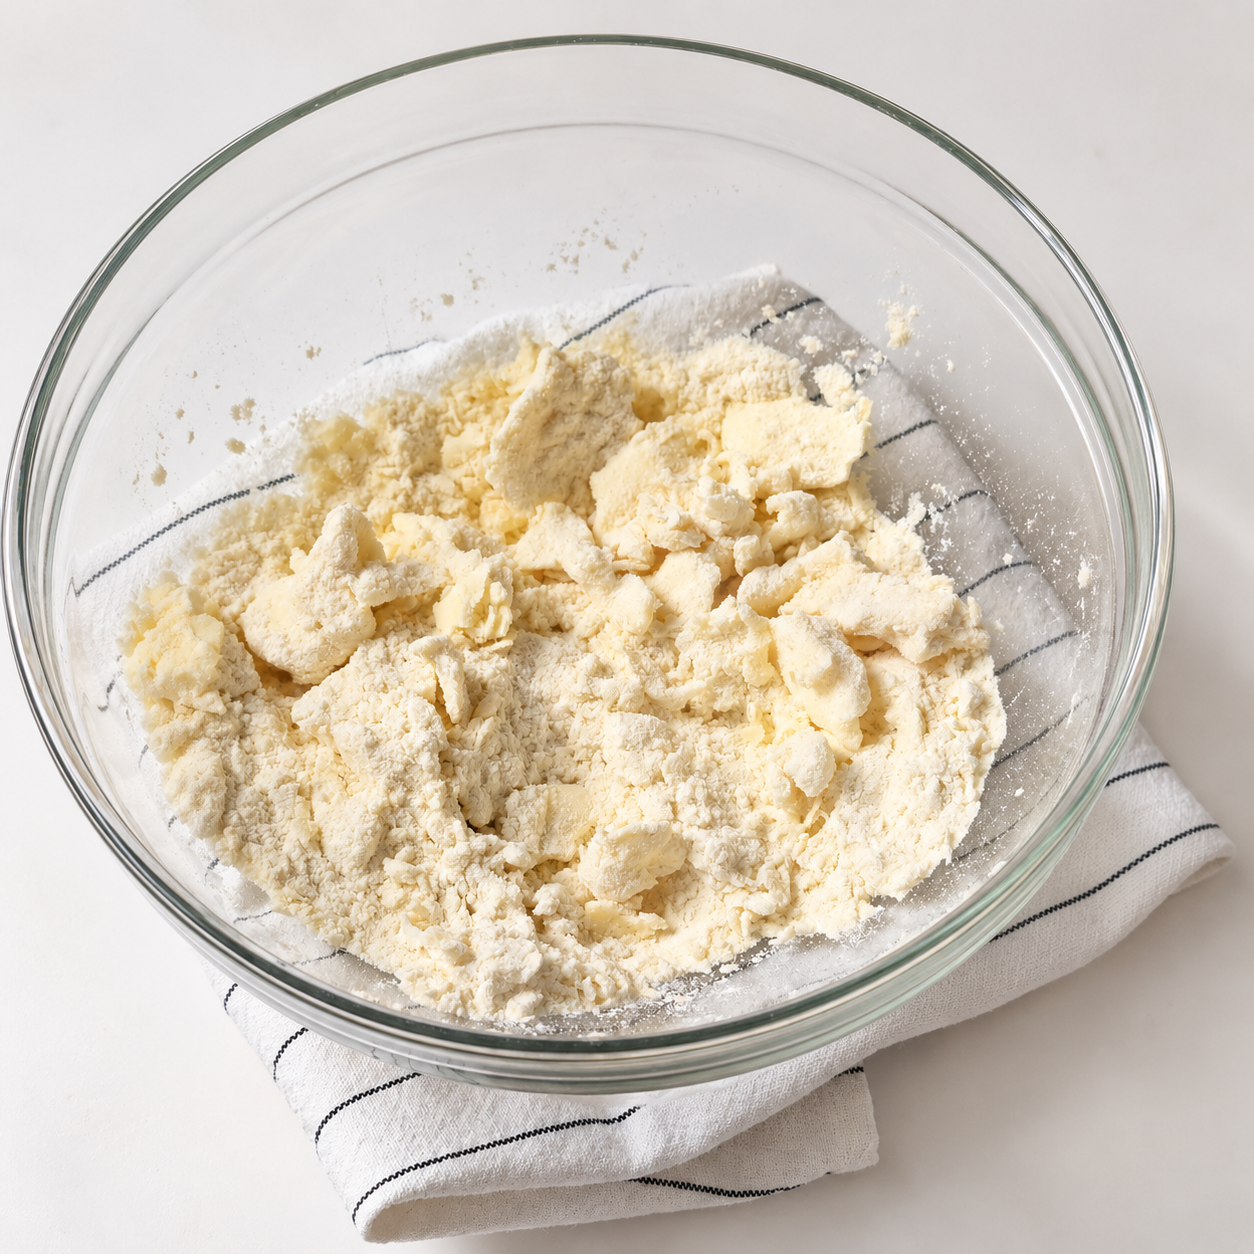
Stop while the mixture is still uneven and visible pieces of butter remain.
3. Add only enough water.
Begin with 28 g of ice-cold water and mix gently with a fork, without kneading. Add a little more only if the mixture does not hold together when pressed between your hands. Bring the dough together, shape it into a disc and wrap it. Refrigerate for at least one hour.
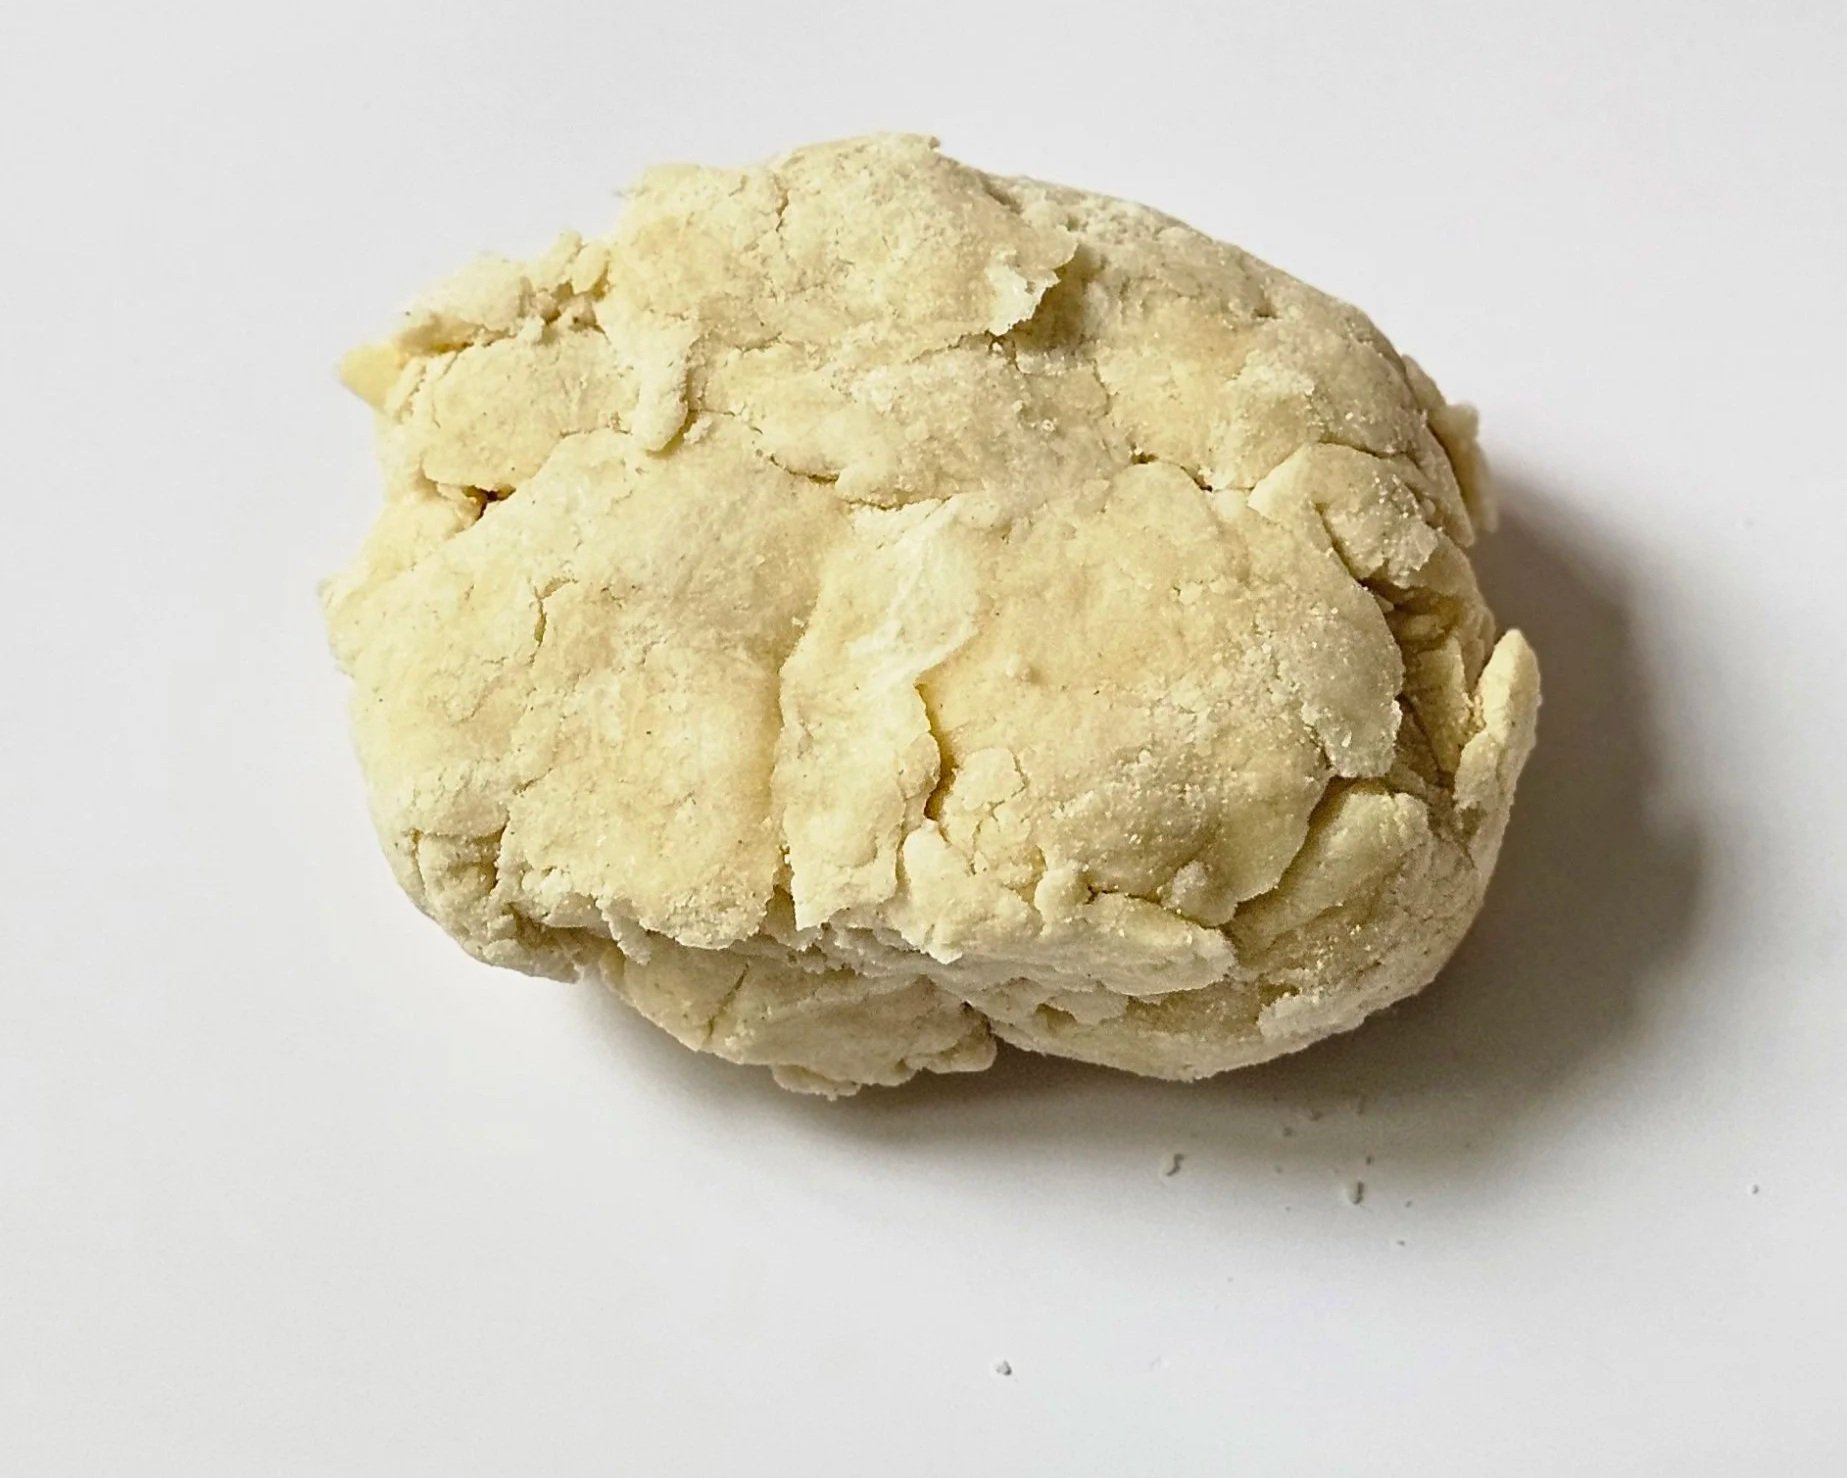
Shaggy is good. The dough should look rough, irregular and only just combined.
4. Roll and line the pie tin.
Roll the chilled dough to approximately 3 mm thick. Ease it gently into the tin without stretching it. Press it against the base and sides, shape the edge and lightly prick the bottom. Refrigerate the lined tin for at least 30 minutes.
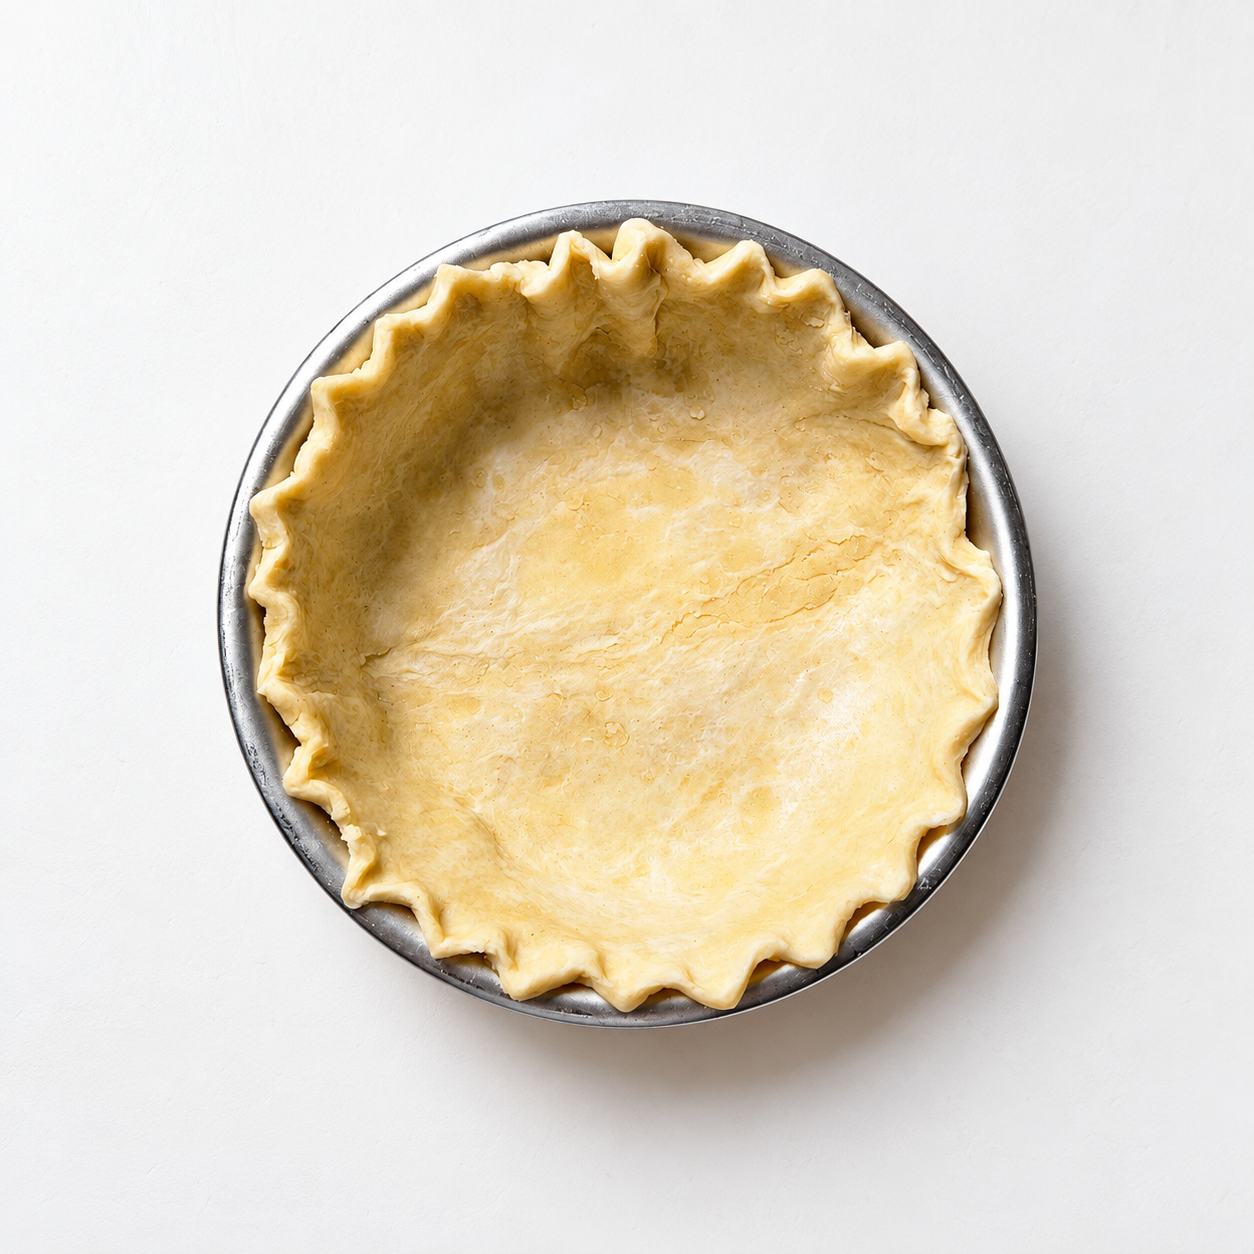
Ease the dough into the tin without stretching it, then shape the edge and chill.
5. Blind bake until lightly golden.
Preheat the fan oven to 190°C. Line the crust with baking paper and fill it with baking weights. Bake on the second rack from the bottom for 12 minutes. Remove the paper and weights, then bake for another 4–6 minutes, until the base looks dry and the edges are lightly golden. Allow it to cool slightly before adding the filling.
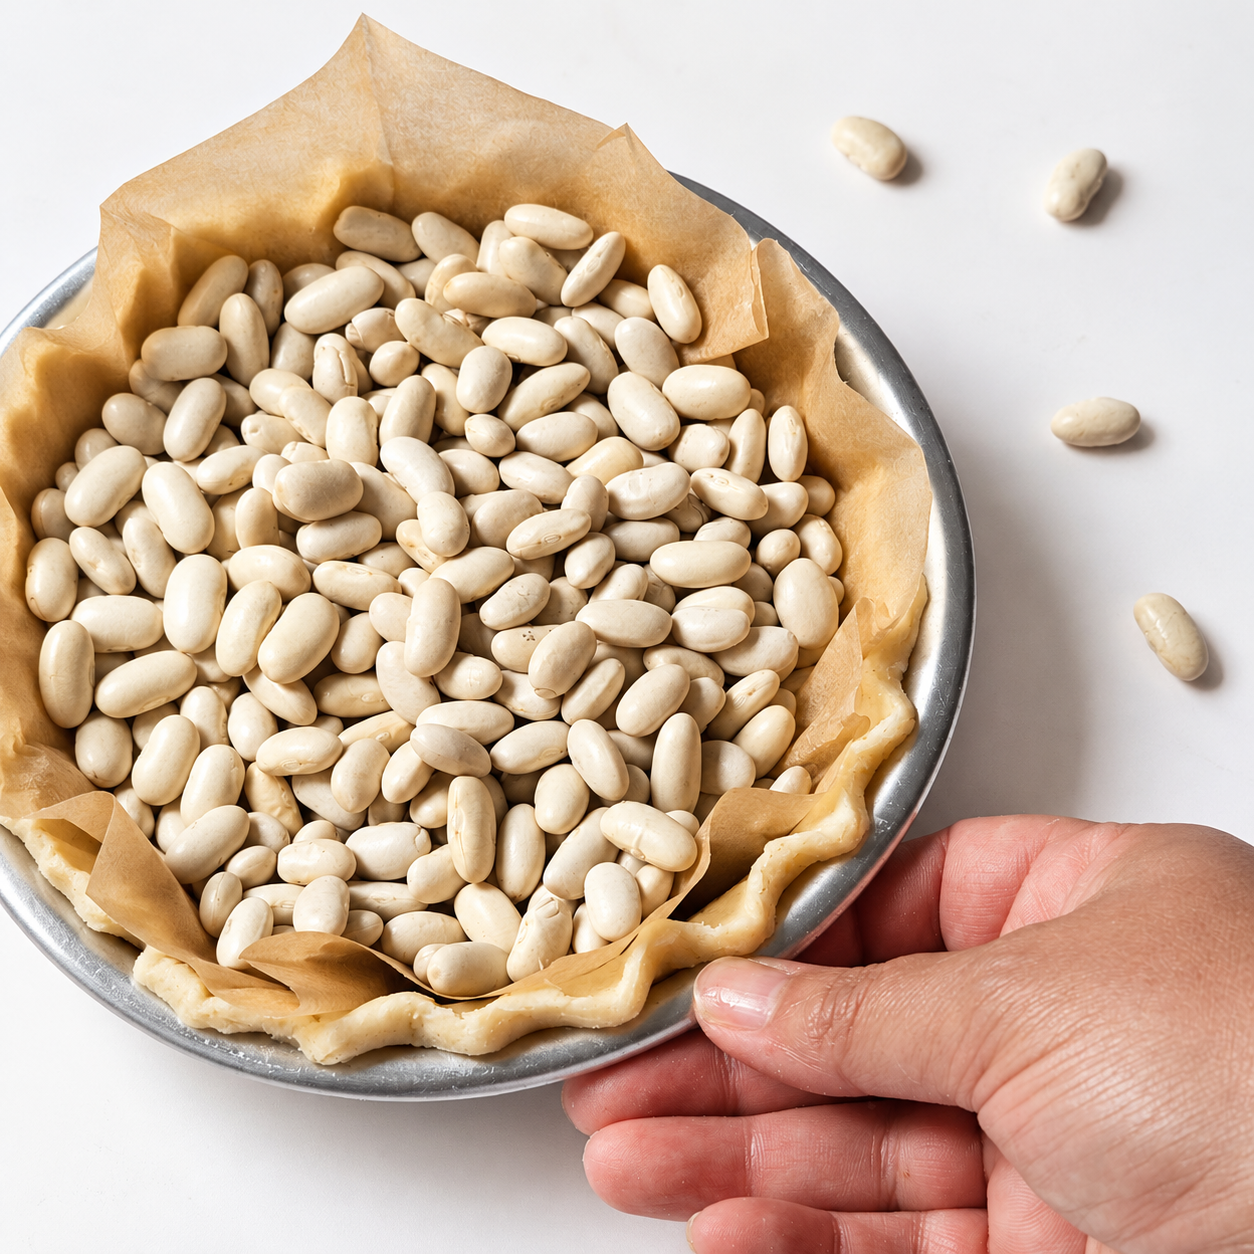
Line the chilled crust with baking paper and fill it completely with baking weights.
GHC Kitchen Notes.
If your kitchen is warm
Chill the bowl and flour for 10 minutes before beginning. If the butter starts to soften at any point, stop and return the dough to the refrigerator rather than adding more flour.
Give the dough time to rest
Resting allows the flour to absorb the water evenly and the gluten to relax. This makes the dough easier to roll and helps prevent it from shrinking in the oven.
A few cracks are perfectly fine
If the chilled dough cracks slightly as you begin rolling, allow it to rest at room temperature for a minute or two. Small tears can be patched with a piece of leftover dough.
Never stretch it into the tin
Lower the pastry gently into the tin and ease it into the corners. Dough that has been stretched will try to return to its original shape while baking.
Chill it twice
The first rest is for the dough; the second is for the shaped crust. Chilling the lined tin for at least 30 minutes helps preserve the edge and keeps the butter cold before baking.
Make the baking paper behave
Crumple the sheet of baking paper gently before placing it inside the crust. It will become more flexible and sit against the sides more easily.
Storage
Keep the unbaked dough tightly wrapped in the refrigerator for up to two days.
It can also be frozen for up to two months. Allow it to thaw slowly in the refrigerator before rolling.
The baked, unfilled crust can be stored at room temperature for one day in a well-sealed container.
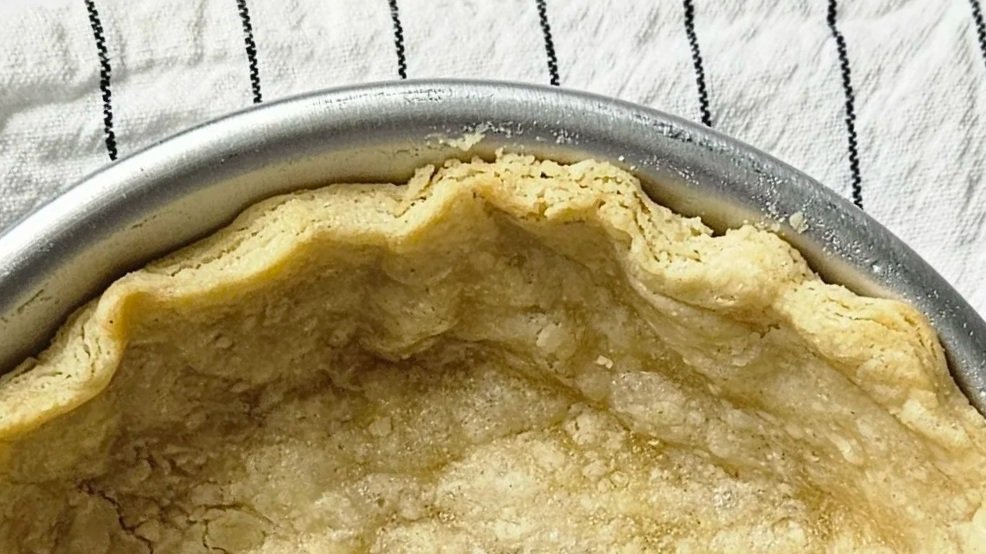
Bake until the base looks dry and the edges are lightly golden.
The Recipe
A flaky all-butter crust for sweet American pies, made by hand and designed for a 16 cm pie tin.
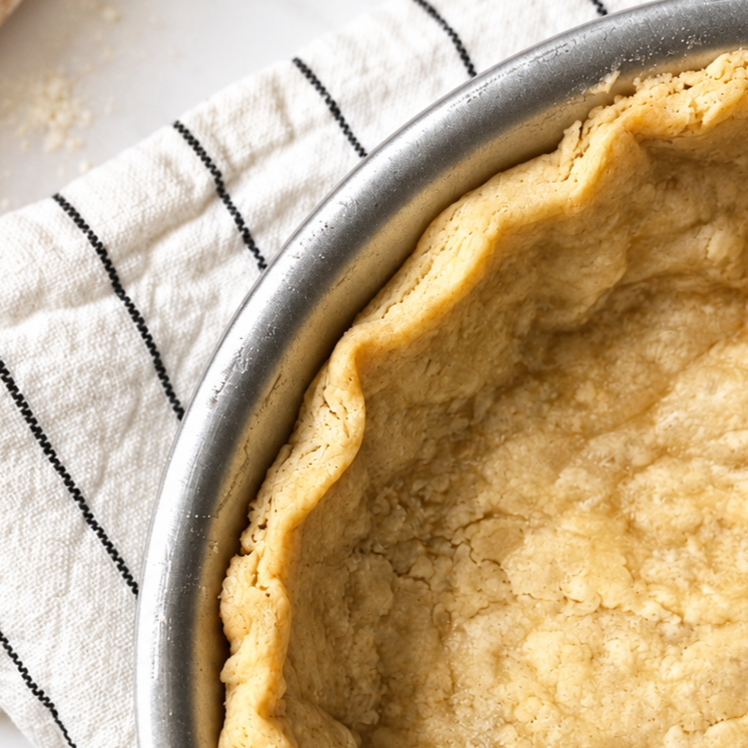
Makes: one 16 cm pie crust
Preparation: 20 minutes
Chilling: 1 hour 30 minutes
Blind baking: 16–18 minutes
Pan: 16 × 3.5 cm round pie tin with sloping sides
Fan oven: 190°C · Second rack from the bottom
Difficulty: Medium
Ingredients
□ 110 g plain flour
□ 70 g very cold butter
□ 5 g granulated sugar
□ 2 g fine salt
□ 28–35 g ice-cold water
Instructions
① Prepare the dough
Combine the flour, sugar and salt. Add the cold butter and work it quickly into the flour with your fingertips, leaving small pieces clearly visible.
② Add the water
Add 28 g of ice-cold water and mix gently with a fork. Add the remaining water only if needed, until the dough holds together when pressed. Do not knead.
③ Chill
Bring the dough together, shape it into a disc and wrap it. Refrigerate for at least 1 hour.
④ Line the pie tin
Roll the dough to approximately 3 mm thick. Ease it into the ungreased tin without stretching, shape the edge and lightly prick the base. Refrigerate for another 30 minutes.
⑤ Blind bake
Preheat the fan oven to 190°C. Line the crust with baking paper and fill with baking weights. Bake on the second rack from the bottom for 12 minutes. Remove the paper and weights, then bake for another 4–6 minutes, until the base looks dry and the edges are lightly golden.
Recipe Note
Begin with 28 g of water. The final quantity may vary slightly depending on the flour and the temperature of your kitchen. Add only enough for the dough to hold together when pressed.